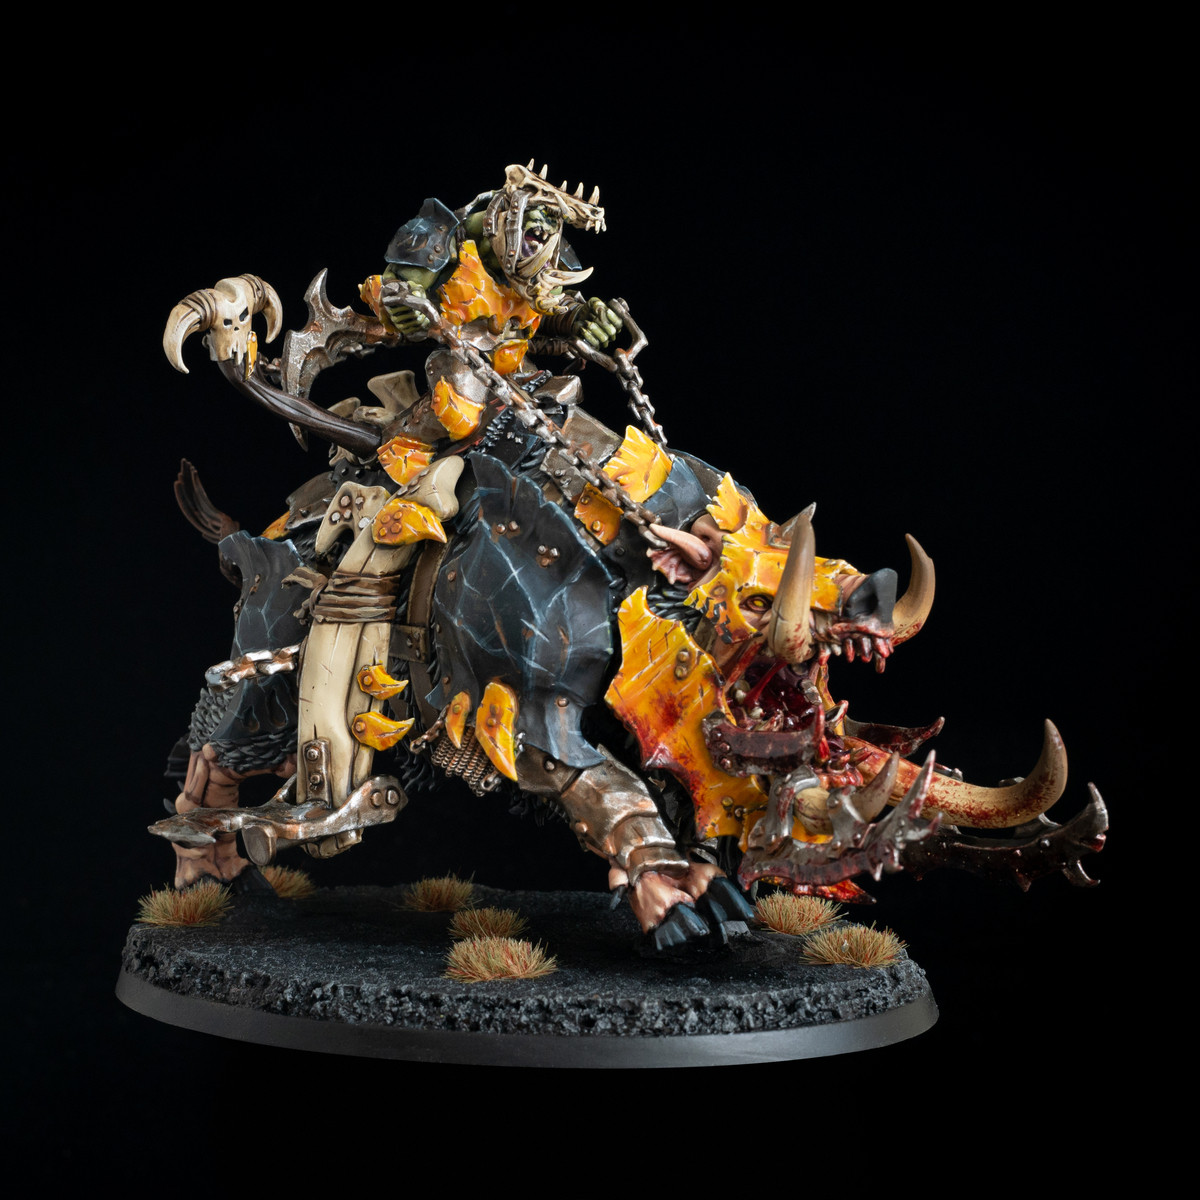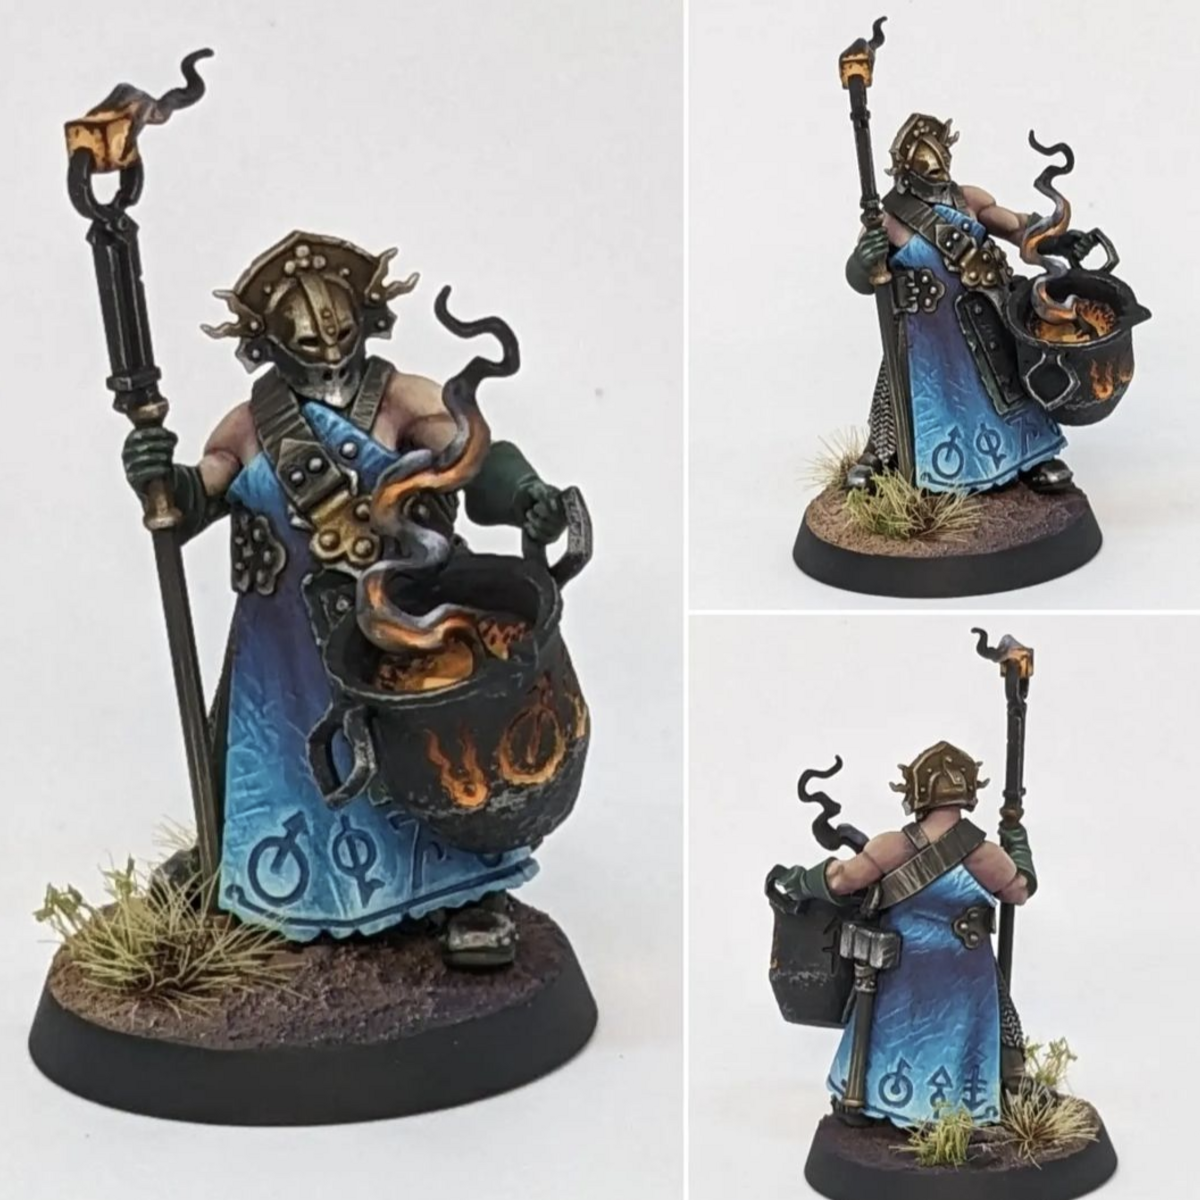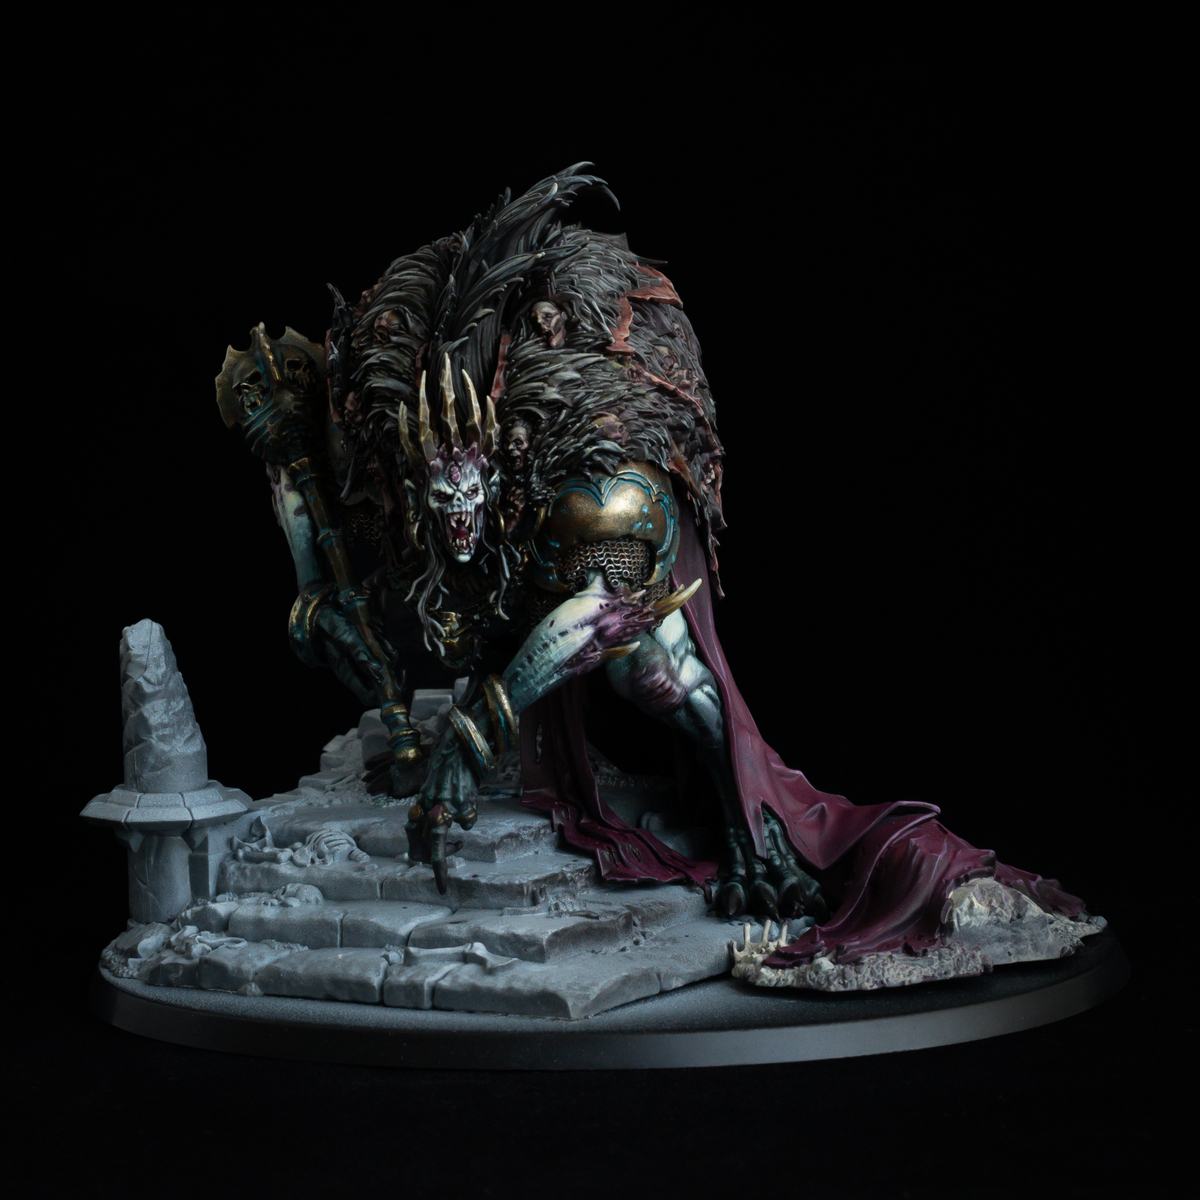

The Big Man himself. This model is hardcore and looks damn intimidating if you dont plan out each section well. Fun to paint but there is definitely a lot going on. I painted him in a single piece (Besides the base) by first priming and zenithal highlighting the entire model then using liquid mask to cover his flesh so I could airbrush the cloak. No two ways about it, if this is an option for you it will save you a LOT of time and look damn good. I cannot recommend the Cult of Paint tutorial enough for this and as a really good look at the process of painting a large centrepiece like this. I <3 Cult of Paint.
Prep Work
- I like to watch videos to see complex models and processes to tackle them. This video and channel is exceptional. They also have other FEC Tutorials.
https://www.youtube.com/watch?v=zAcb1lBUtgQ&ab_channel=CultofPaint - Prime the entire model. I opted for a black, with a white zenithal. Gauss Blaster Green Can also be used here to speed up the layering of the body areas.
- Liquid Mask the entire flesh area as this will be easier to paint from a more white base
- Airbrush the Cloak Barak-Nar Burgundy
- Airbrush Highlight Zenithal Screamer Pink
- Remove Liquid mask (try to do this within 30 minutes)
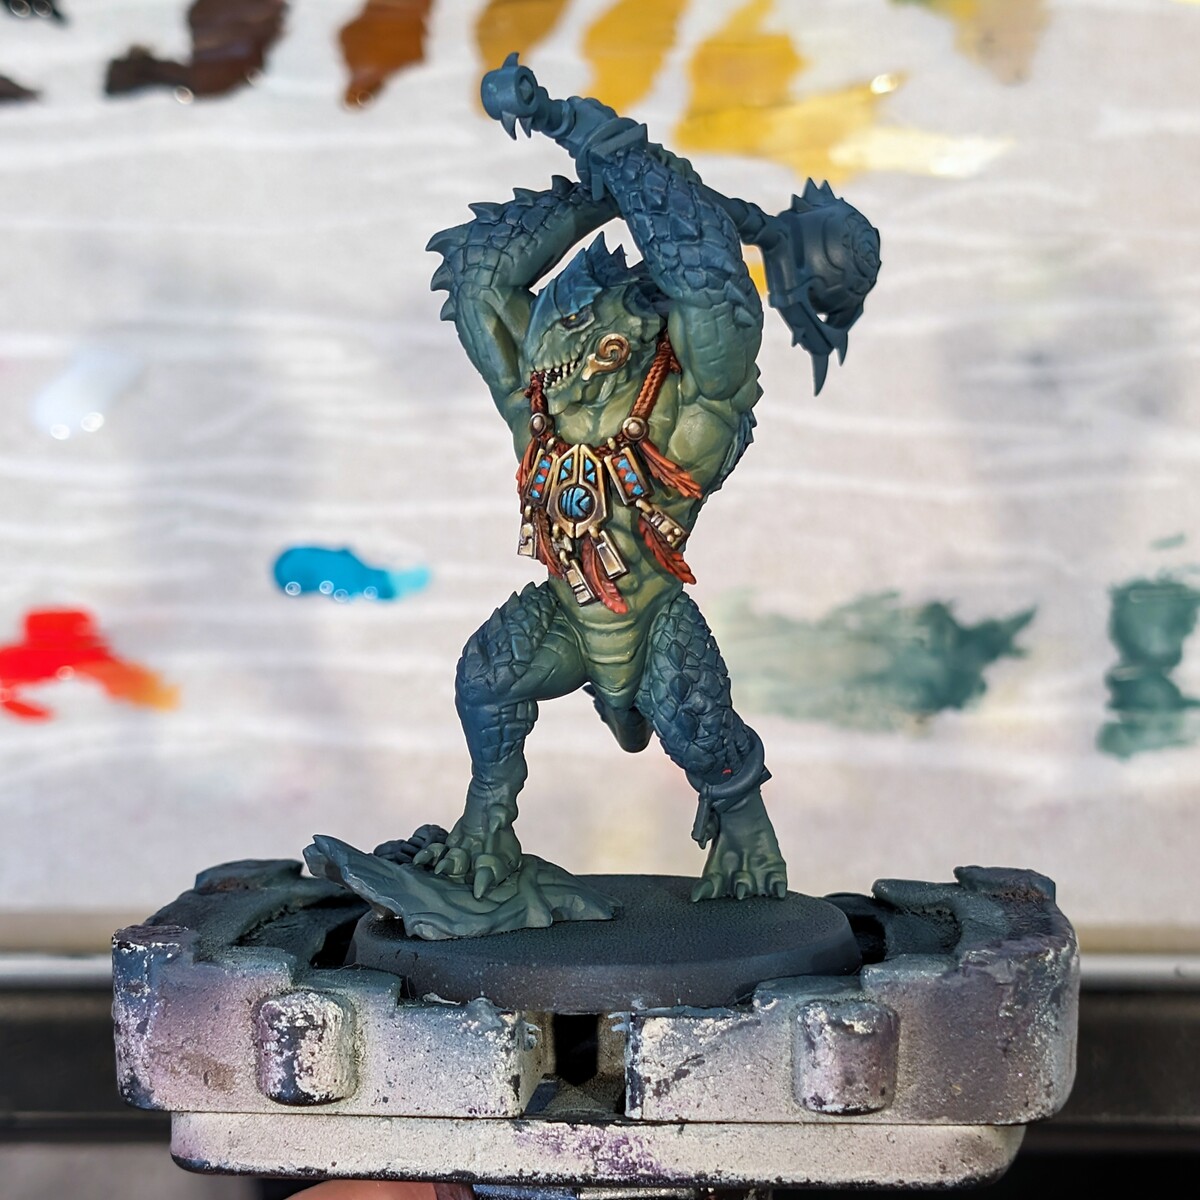
Body
- Zenithal: Gauss Blaster Green Or apply Gauss Blaster Green Without an airbrush to the lightest areas
- Wash: Poxwalker This may need two coats. Leave time to dry. Do more layers on the hands and feet if you want to push the values there like I have.
- Contrast: Gryph-charger Grey on the lower arms and lower legs. Feather this out. Repeat until you like the result.
- Layer up those glorious muscles and his beautiful, regal face with more Gauss Blaster Green
- Highlight the darker areas with Incubi Darkness and then push this further with Sons of Horus Green You can push this further by adding in Gauss Blaster Green if you like.
- Continue to push all highlights on the lighter body segments with Gauss Blaster Green mixed with Ice Yellow
- Repeat this mix adding more and more Ice Yellow until it is pure if you desire.
- Glaze Barak-Nar Burgundy Into the areas that have growths protruding out of them to enflame the swolen skin. I did this on the knees and eyelids too to add a little extra flair.
- Highlight these Royal Bone Protrusions with Screamer Pink and you can further push these highlights by adding in Ice Yellow
- The bones themselves I based in Rakarth Flesh Then washed with Skeleton Horde Then highlighted by adding Ice Yellow I deepened some areas by using glazes of Rhinox Hide
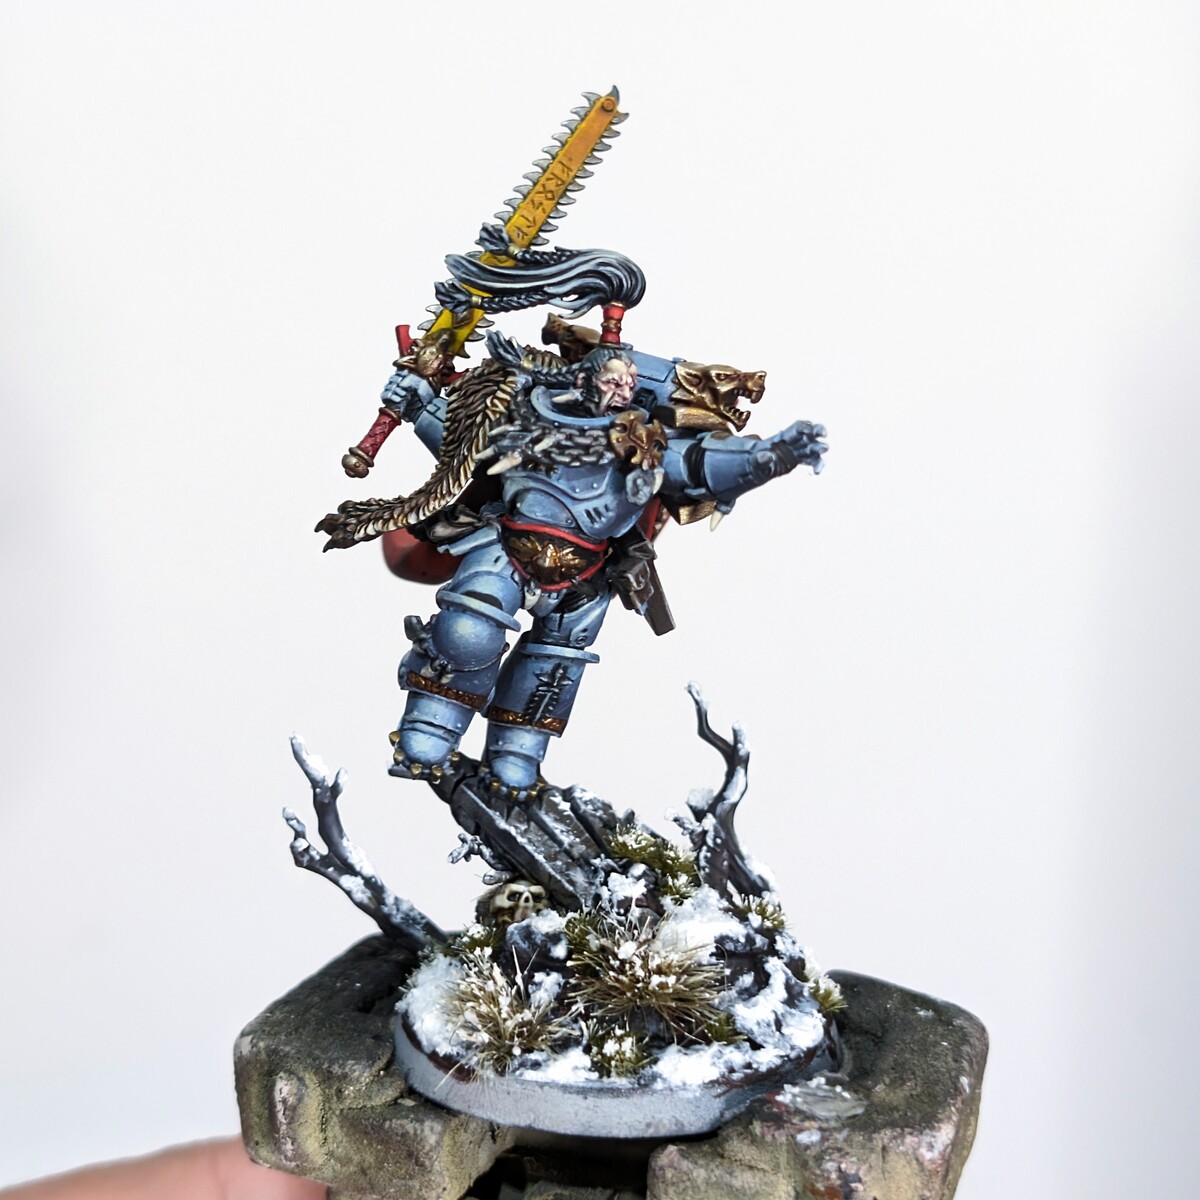
The Cloak
- Airbrush or Base Barak-Nar Burgundy
- Airbrush Highlight or Highlight Screamer Pink
- Continue to add Ice Yellow to the Screamer Pink to push she sharper edges
- This is it for the cloak for me. I wanted to keep it simple yet striking
The FUR Cloak
- Contrast Ratling Grime and Garaghak's Sewer
- Contrast Black Legion on the darker areas such as the tall middle spine section
- Highlight Stormvermin Fur
- Highlight Stormvermin Fur / Ice Yellow
- Pick out any tips you want to push further with more intense mixes. The cloak is fantastic for washes and drybrushing too.
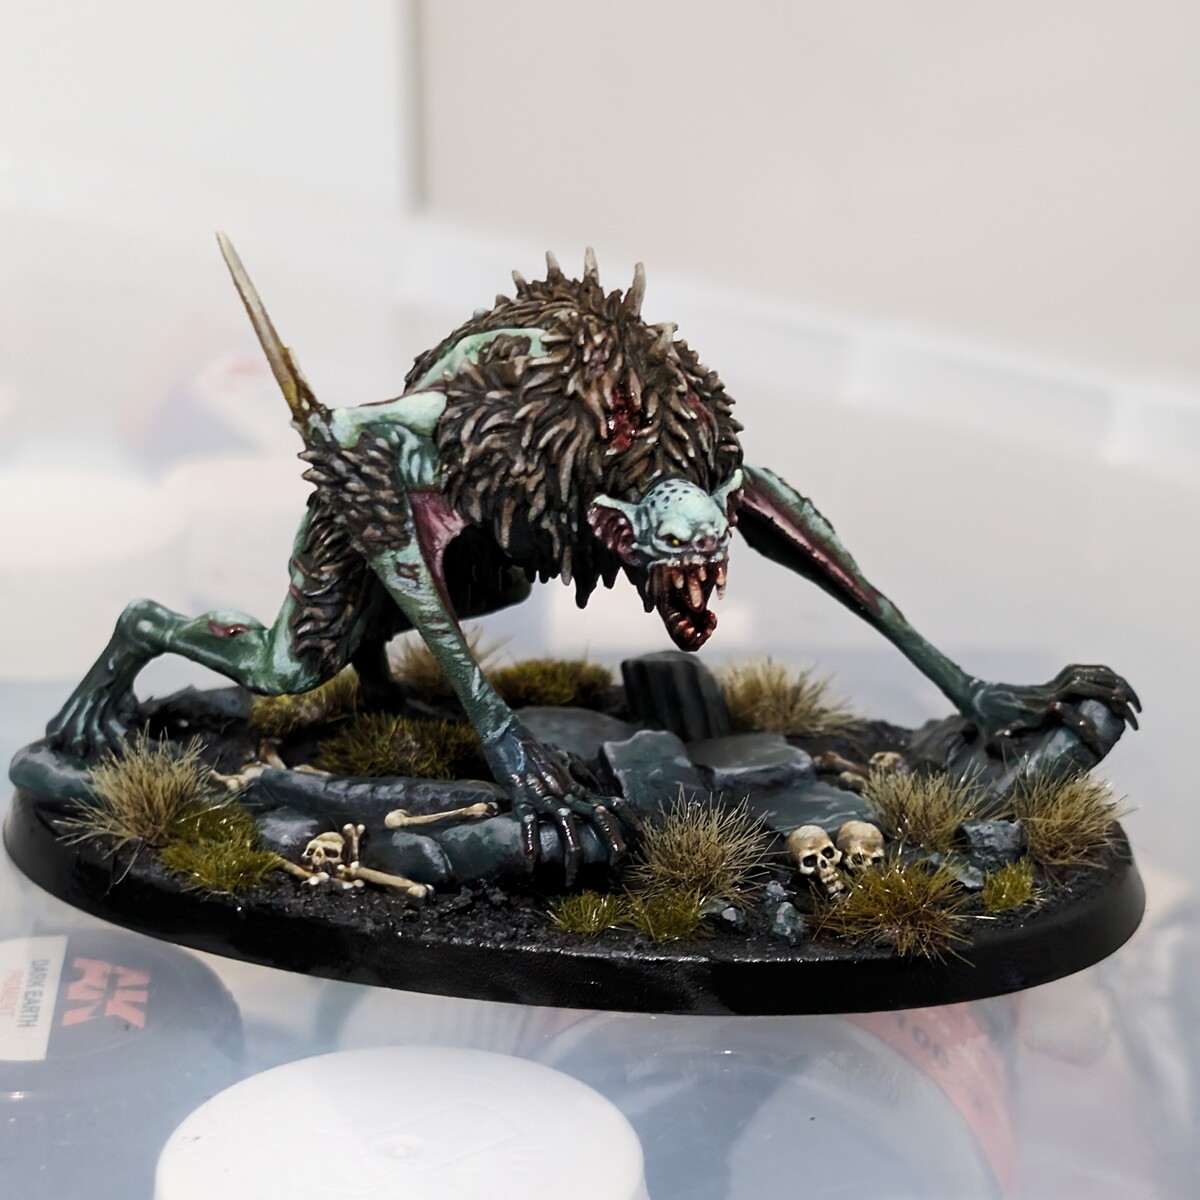
- There are one MILLION faces hidden in this. Base them all with rakarth flesh as it is gross and pale and use contrast for these. I would use Guilliman Flesh and Berserker Bloodshade and Druchii Violet and Biel-Tan Green to get gross dead looking results. Some of the faces are Orruks so paint those as you wish. Here is really up to you, you can push them as you like. You want these looking very dead and rotten so add touches of green and grey to your skin tones and skin highlights to sell that effect.
- There are also skulls! Base in Rakarth Flesh and use Skeleton Horde then Highlight with Rakarth Flesh and Flayed One Flesh or Ice Yellow or any bone colour.
- The cloak skin flaps were Bugman's Glow then highlighted with Cadian Fleshtone then washed with Carroburg Crimson and Berserker Bloodshade in splotches, then highlighted with Kislev Flesh and finally Flayed One Flesh Look up images of marbled steak and do something gross like that! These are old and very dead so get creative and messy.
The Metallics
- Base the Bronze with Decayed Metal (This colour is amazing)
- Drybrush or stipple highlight roughly with Viking Gold (Or a midtone gold of your choice)
- Drybrush or stipple highlight roughly with Elven Gold : (Or a bright gold of your choice)
- Wash the entire thing with Poxwalker or with heavily watered dow Dark Angels Green
- Reapply some of the gold if you feel it is necessary
- I then pinwashed the crevices and holes with a mix of Despair Green which is a lovely dark blue/green and Blue-Green This is verdigris so you want to have variances in colour due to the age. go thick, or watery, verdigris styles are SO varied. It is very fun to experiment. I then add Ice Yellow to the colours to make really bright little spots of this also. Verdigris is created by build ups of water and liquid causing corrosion, so you really apply watery paints here and let them settle or purposefully coffee stain the model. This all works and it is very fun and creates a believable result. It can be blue, it can green, it can be pastel and almost white. Totally up to you!
- I painted the silver with Gunmetal (Any dark Metal), then dryrbushed with a Chrome Then ran thin Skrag Brown into it to create watery rust.
AK Interactive 3rd Generation Acrylics
Standard 2
- AK11036 Ice Yellow
- AK11169 Blue-Green
Citadel Painting System 25
Base 6
- Barak-Nar Burgundy
- Bugman's Glow
- Incubi Darkness
- Rakarth Flesh
- Rhinox Hide
- Screamer Pink
Shade 5
- Berserker Bloodshade
- Biel-Tan Green
- Carroburg Crimson
- Druchii Violet
- Poxwalker
Layer 6
- Cadian Fleshtone
- Flayed One Flesh
- Gauss Blaster Green
- Skrag Brown
- Sons of Horus Green
- Stormvermin Fur
Air 1
- Kislev Flesh
Contrast 7
- Black Legion
- Dark Angels Green
- Garaghak's Sewer
- Gryph-charger Grey
- Guilliman Flesh
- Ratling Grime
- Skeleton Horde
Scale75 Scalecolor 4
Metal n' Alchemy 3
- SC-72 Viking Gold
- SC-74 Elven Gold
- SC-87 Decayed Metal
Fantasy & Games 1
- SFG-43 Despair Green
Vallejo Game Color
Base 1
- 72.054 Gunmetal
Vallejo Metal Color
Base 1
- 77.707 Chrome